Run a Hubble on GCP
Intro
This is a step-by-step guide to setting up Hubble on GCP. It usually takes less than 30 minutes to complete the whole process.
Requirements
Costs
- GCP setup recommended in this tutorial may cost up to $70/month
- Alchemy usage should stay within the free tier
Create GCP VM
Open Google Cloud Shell and execute the following commands:

Click on Google Cloud Shell Icon
Execute the below commands in the cloud shell:
mkdir farcaster-hub
cd farcaster-hub
nano main.tf
Now paste the content of below into your main.tf
Replace "$YOUR_PROJECT_ID" with your personal ID.

This is the configuration of your GCP virtual machine that will be created.
provider "google" {
  project = "$YOUR_PROJECT_ID"
  region  = "us-central1"
}

resource "google_compute_instance" "farcaster-hub-vm" {
  name         = "farcaster-hub-vm"
  machine_type = "e2-standard-4"  # 4 vCPUs, 16 GB memory
  zone         = "us-central1-a"  # Specify the zone here


  boot_disk {
    initialize_params {
      image = "ubuntu-2004-focal-v20231213"  # Ubuntu 20.04 LTS image URL
      size = 300  # 300 GB disk size
    }
  }

  network_interface {
    network = "default"
    access_config {
      // This will assign a public IP address to the instance
    }
  }

  tags = ["allow-farcaster-p2p-ports"]  # For firewall rule

  metadata = {
    # You can add any additional metadata here if needed
  }
}

resource "google_compute_firewall" "farcaster-p2p-ports" {
  name    = "farcaster-p2p-ports"
  network = "default"

  # allow incoming traffic for ports 2282-2285
  allow {
    protocol = "tcp"
    ports    = ["2282-2285"]
  }

  source_ranges = ["0.0.0.0/0"]
}
Execute this command:
terraform init # to initialize terraform in your farcaster-hub folderExecute this command:
terraform plan # this will simulate your terraform configuration & check if it is correctExample output:
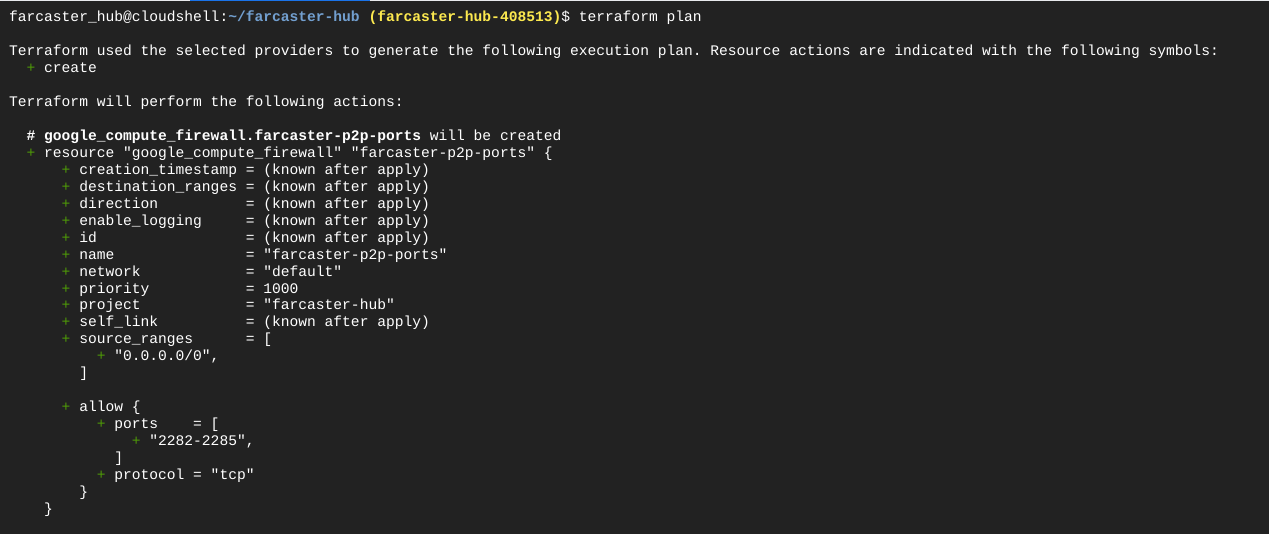
Example output of terraform plan
Enable Compute Engine API

Now execute this command:
terraform apply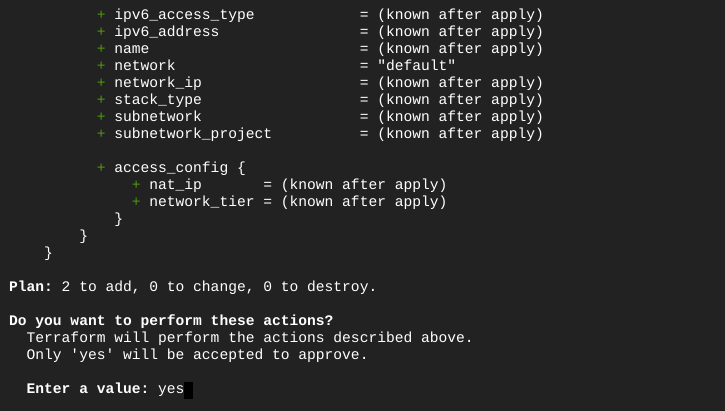
Example output of Terraform apply
It will take a few minutes before the VM is created. Time to enjoy your ☕

Now you should be able to connect to your VM by clicking on the SSH button.
Now Install Docker as described here https://docs.docker.com/engine/install/ubuntu/
Now follow the steps as described on Install page
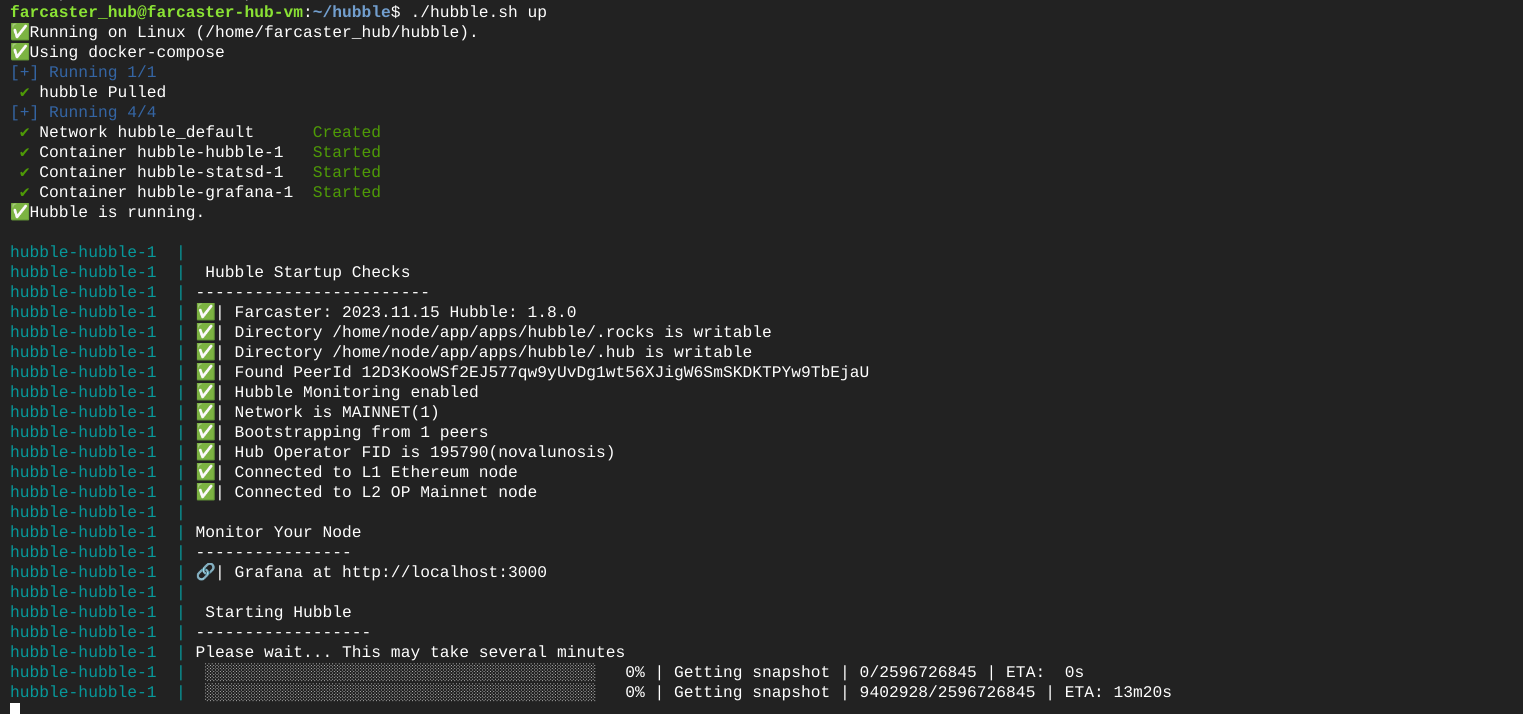
Your Hubble is up and running when you see below :white_check_mark: